
Add or Remove System Icons from the Desktop
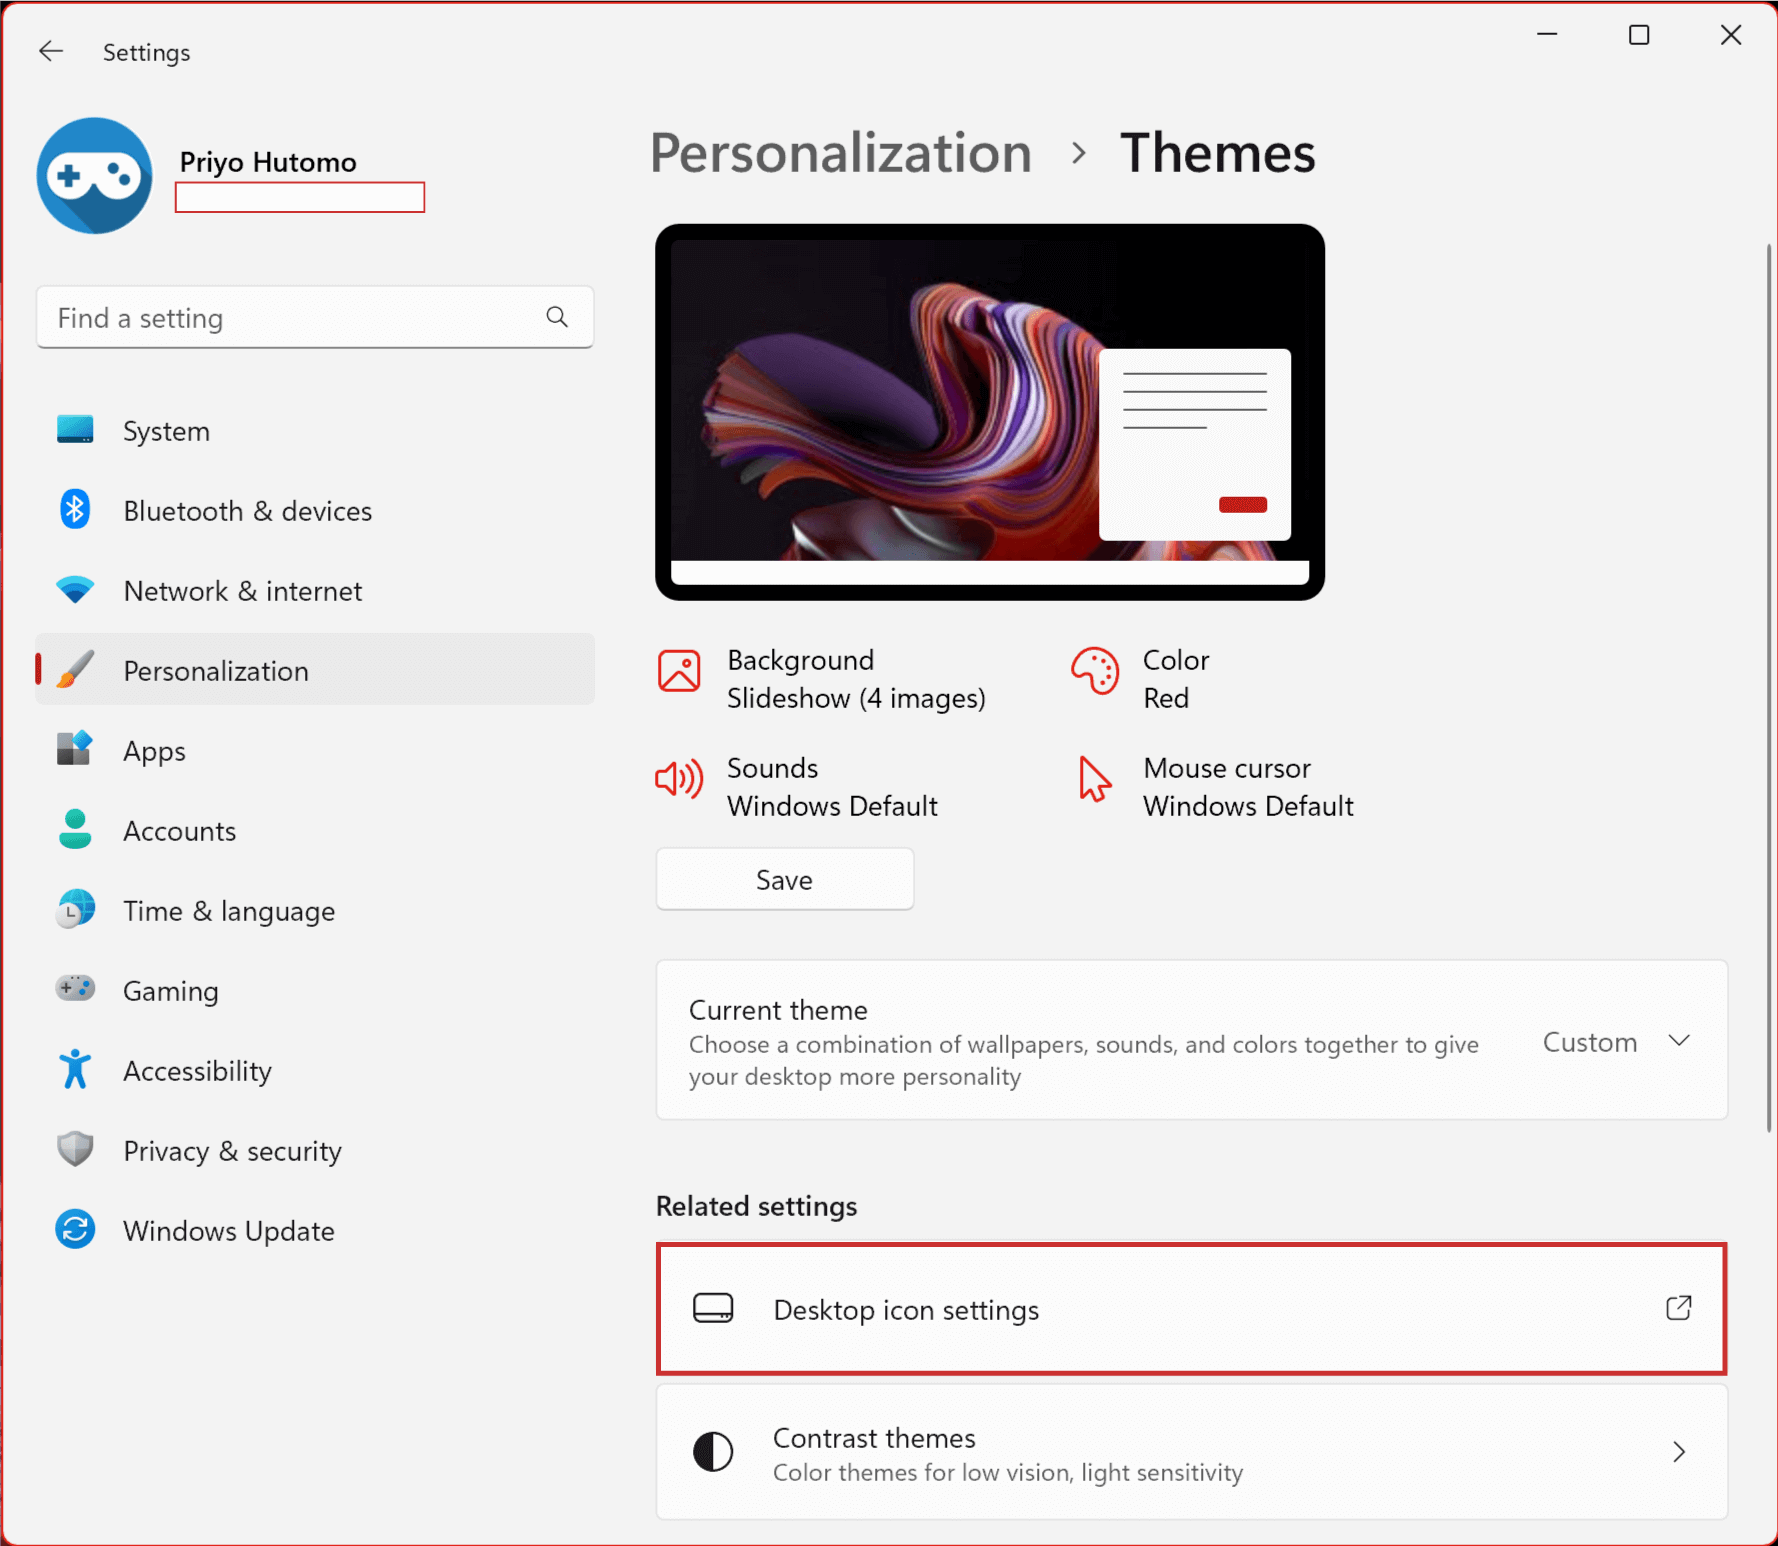
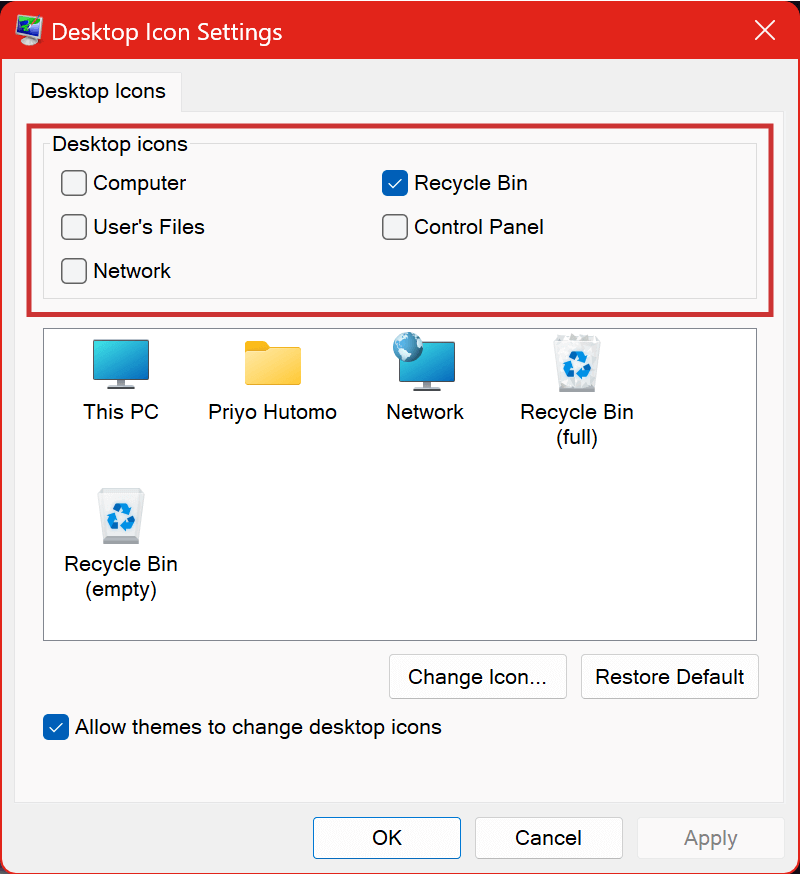
To Add or Remove System Icons (Computer, User's Files, Network, etc) from Desktop in Windows 11, navigate to Settings > Personalization > Themes, then, on the related settings section, click the Desktop Icon Settings button. A new dialog will be appear. Finally set the system icons you want to show on the desktop.
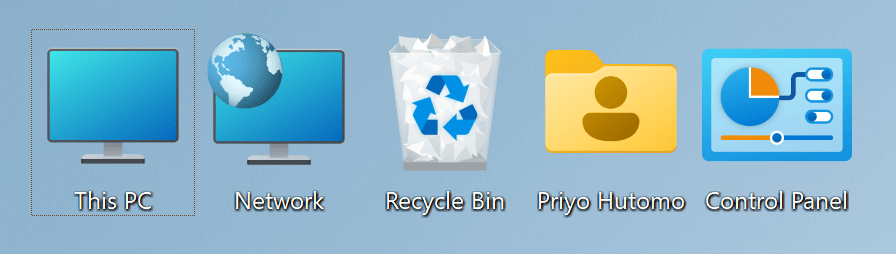
System icons on desktop
To Add or Remove System Icons from the Desktop Through Windows Registry
Warning: Modifying the Windows Registry directly through Registry Editor (Regedit) may cause problem to Windows. Proceed with caution. Before making any registry changes, make sure that you already familiar with the basics of the Windows Registry.
- Press the "Start" key on the taskbar.
- Search and open "Registry Editor".
- Go to the following folder: HKEY_CURRENT_USER > Software > Microsoft > Windows > CurrentVersion > Explorer > HideDesktopIcons > NewStartPanel
- Using the right-click menu, create a DWORD value with the following names:
{20D04FE0-3AEA-1069-A2D8-08002B30309D} for Computer
{5399E694-6CE5-4D6C-8FCE-1D8870FDCBA0} for Control Panel
{59031a47-3f72-44a7-89c5-5595fe6b30ee} for User's Files
{645FF040-5081-101B-9F08-00AA002F954E} for Recycle Bin
{F02C1A0D-BE21-4350-88B0-7367FC96EF3C} for Network - Set the value to 1 for hiding or 0 for showing
- Sign-out or Restart Windows for the changes to take effect.
