How to Remove Photo Background With Microsoft Photos?
May 18, 2024
If you're looking for a way to remove backgrounds from your photos, you're in luck! Since November 17, 2023, Microsoft has added a background removal feature to the Microsoft Photos app. Now, you can easily remove or swap out the background of an image with a different color.
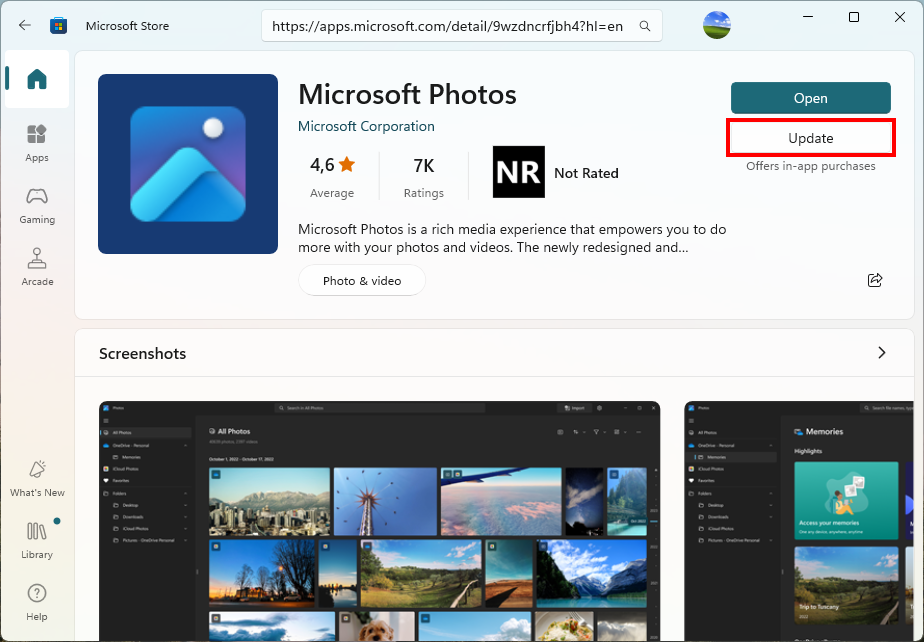
If you still use an older version of Microsoft Photos, go to the following URL to update the program through Microsoft Store:
https://apps.microsoft.com/detail/9wzdncrfjbh4
Removing the background using the Microsoft Photos app is a straightforward process. Here’s a step-by-step guide to help you get started:
Step 1
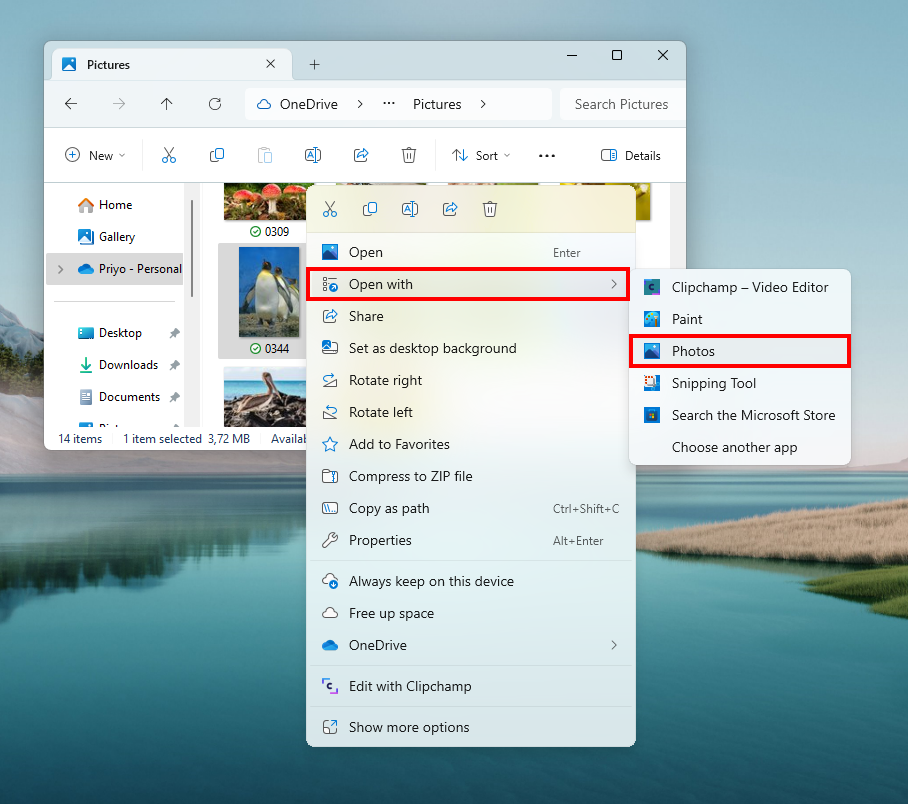
Open an image using Microsoft Photos App. On File Explorer, select the image file you want to edit. Then click the right mouse button to open the popup menu. Select the “Open with” menu and choose Photos.
Step 2
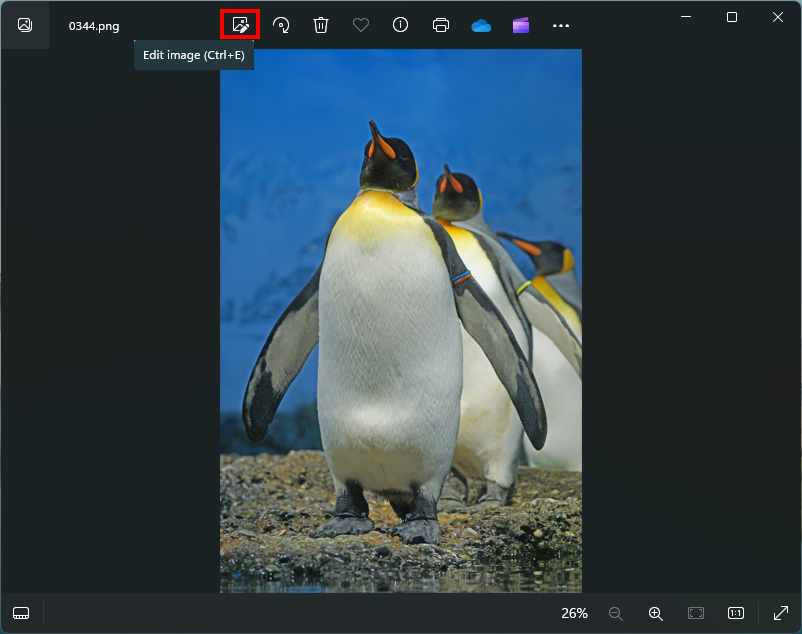
To edit the photo, click on the “Edit image” button on the toolbar.
Step 3
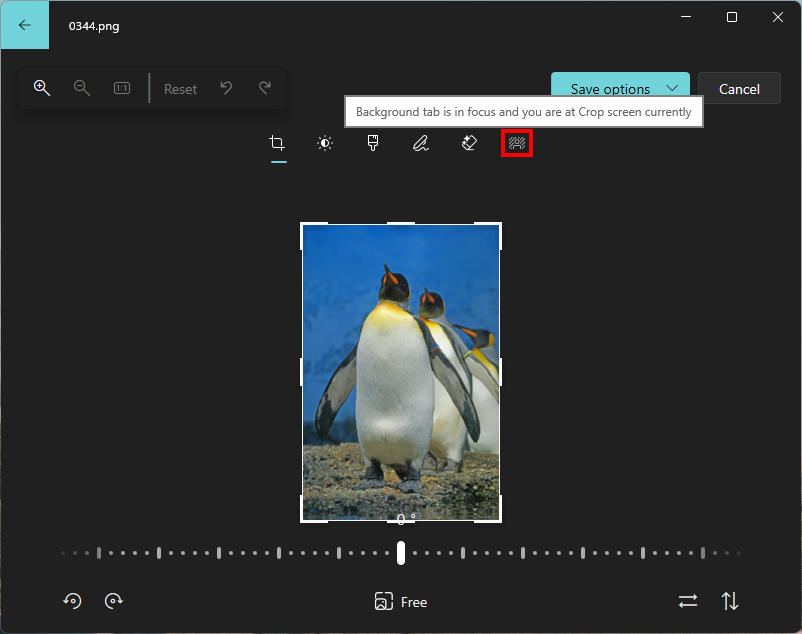
From the tab page navigate to the “Background” tab.
Step 4
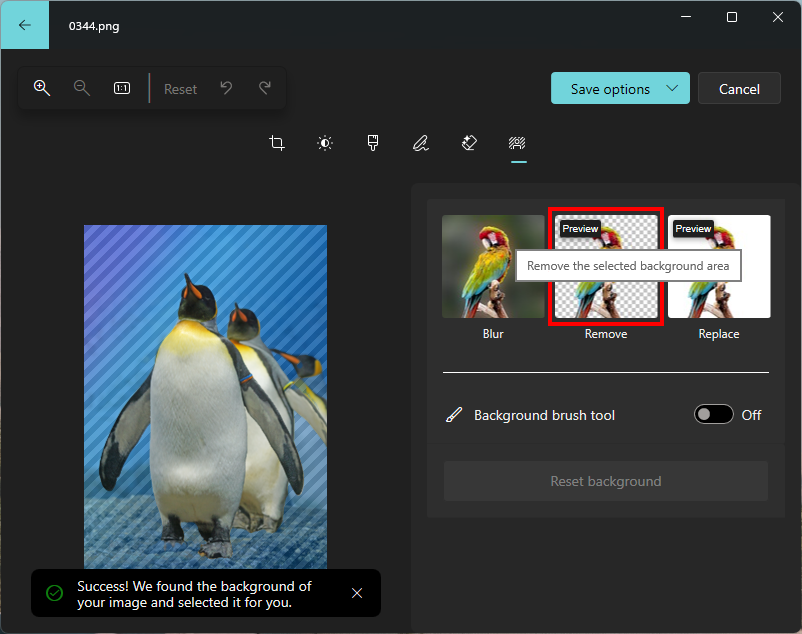
Wait until the AI finishes locating the background in your image. Once the process is finished click the “Remove” button.
Step 5
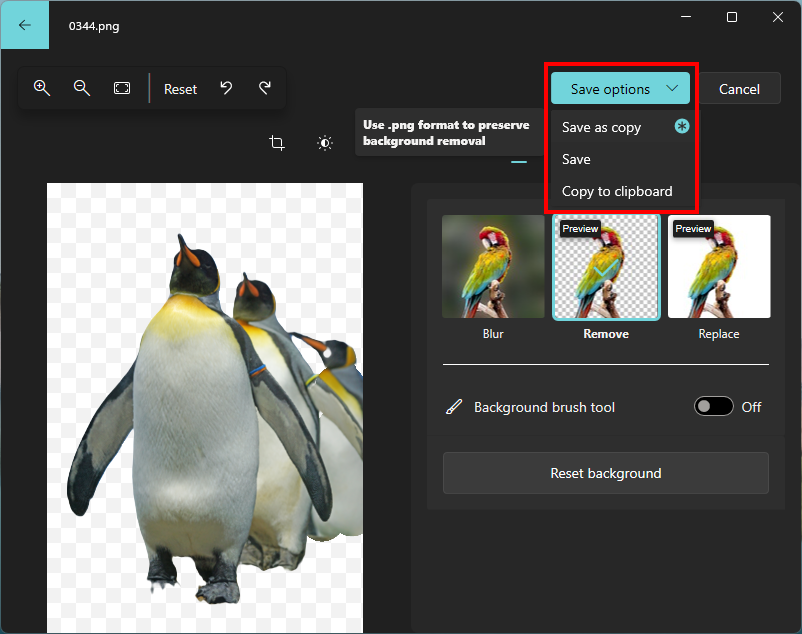
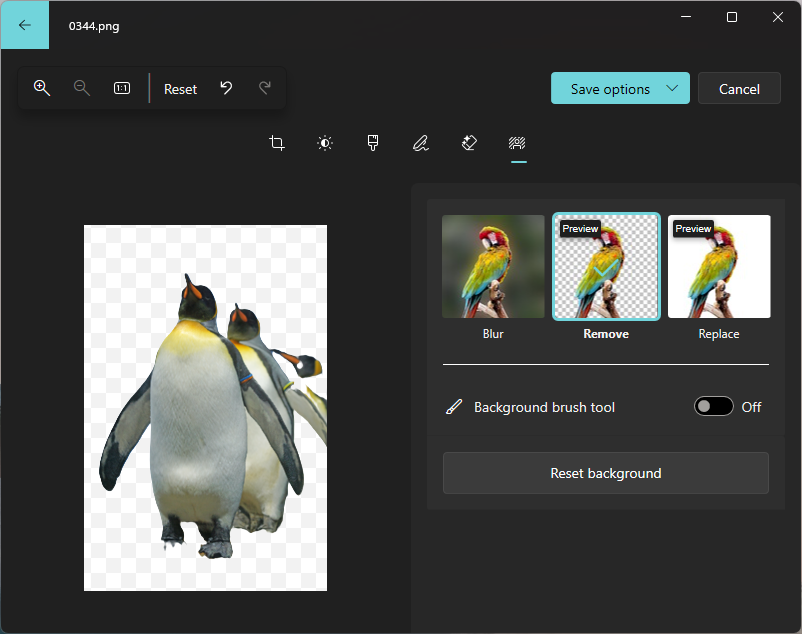
The background will be removed, leaving it transparent. You can click the “Replace” button to replace the background with a different color.
Step 6
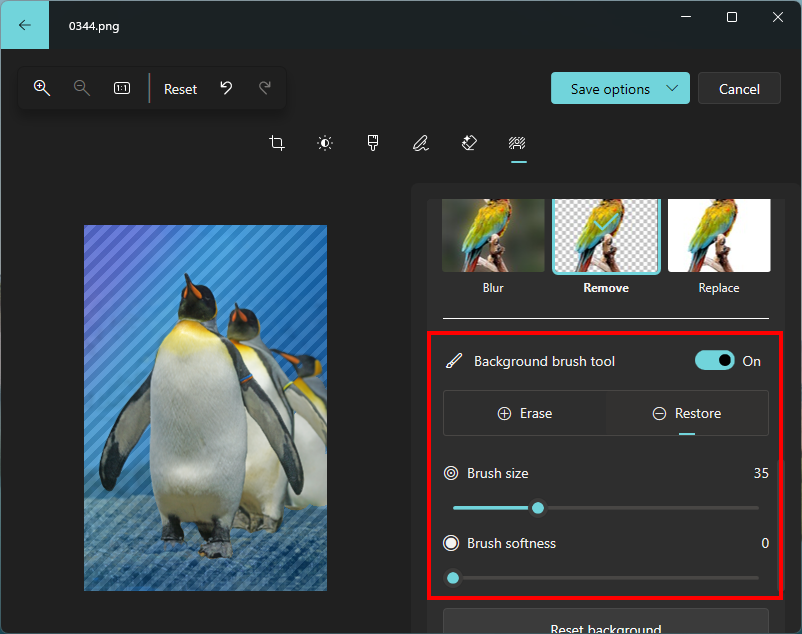
If the automatic selection isn’t perfect, you can use the “Background brush tool” to adjust the edges of the subject manually.
Step 7
After you’re satisfied with the background removal, click the “Save options” and choose “Save as copy” or “Save” menu to keep your changes.