How to Use Snap Layouts in Windows 11
May 12, 2024
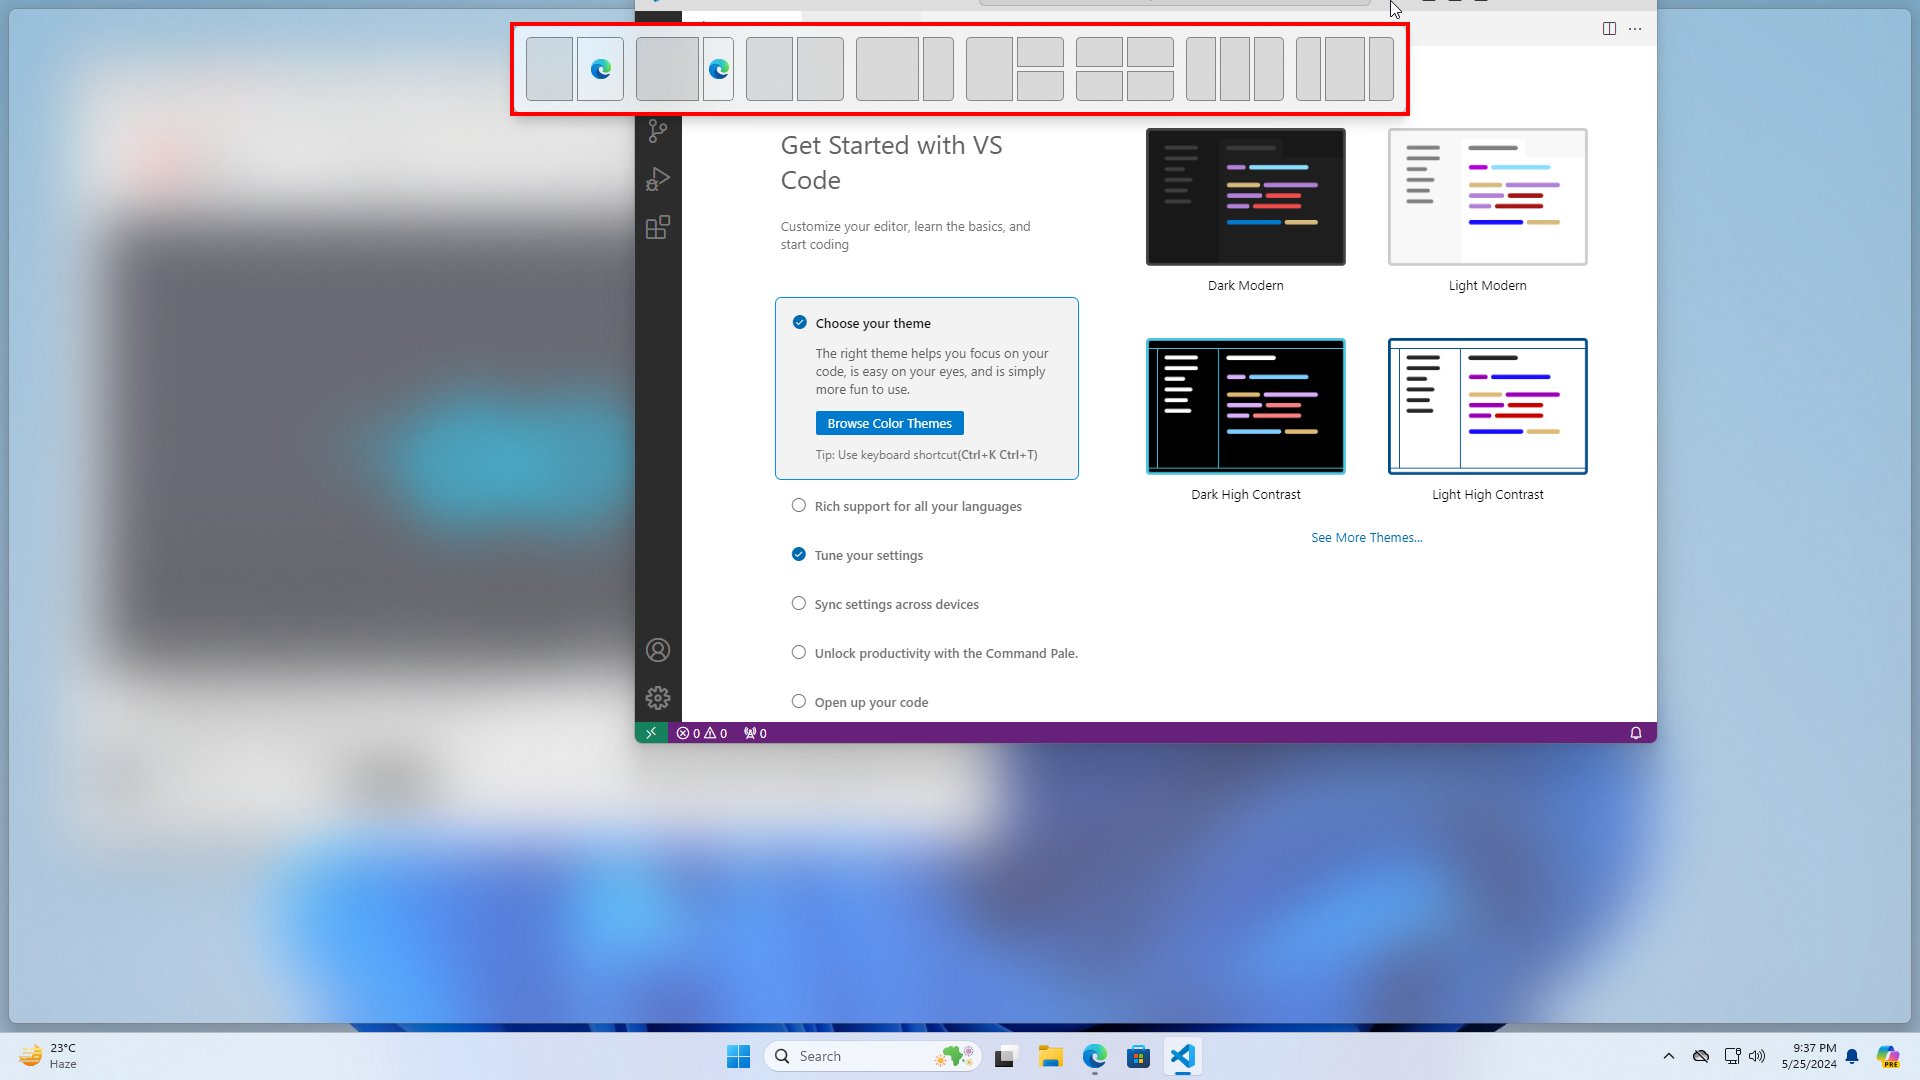
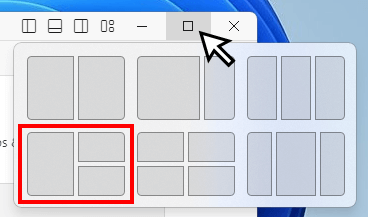
Snap Layouts are a highlighted feature in Windows 11. They offer a new way to manage program windows and can help you align them precisely on the screen. With six preset layouts, Snap Layouts provide more flexibility than OSX Split View.
How to access Snap Layouts?
There are three ways to open Snap Layouts:
Method 1:
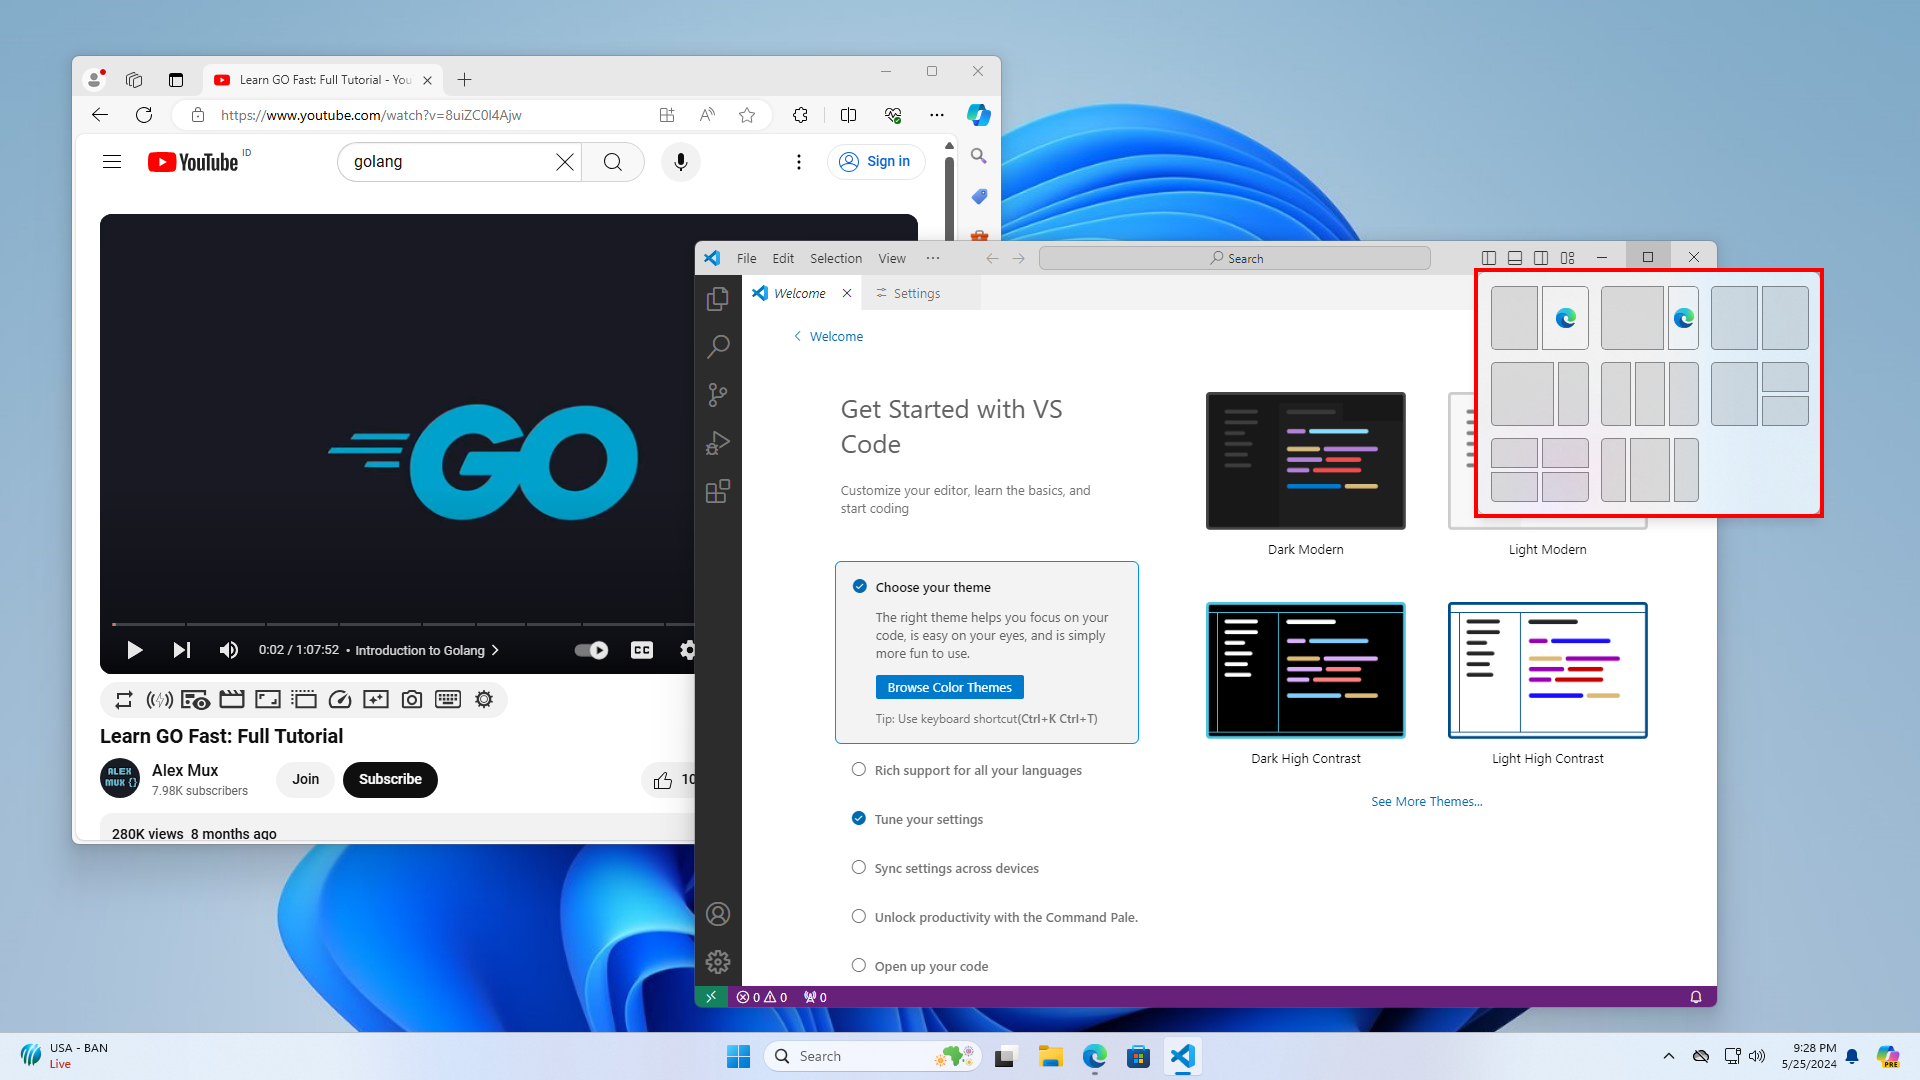
Hover over the maximize button with your mouse.
Method 2:
Use the keyboard shortcut: Windows key + Z, then follow with the corresponding number to select a layout.
Method 3:
Drag a program window to the top center of the screen.
How to use Snap Layouts?
Step 1:
To enter Snap Layouts, move the mouse to the maximize button and wait for a moment (do not click any button). The Snap Layouts window will appear. Then select which layout you want to use.
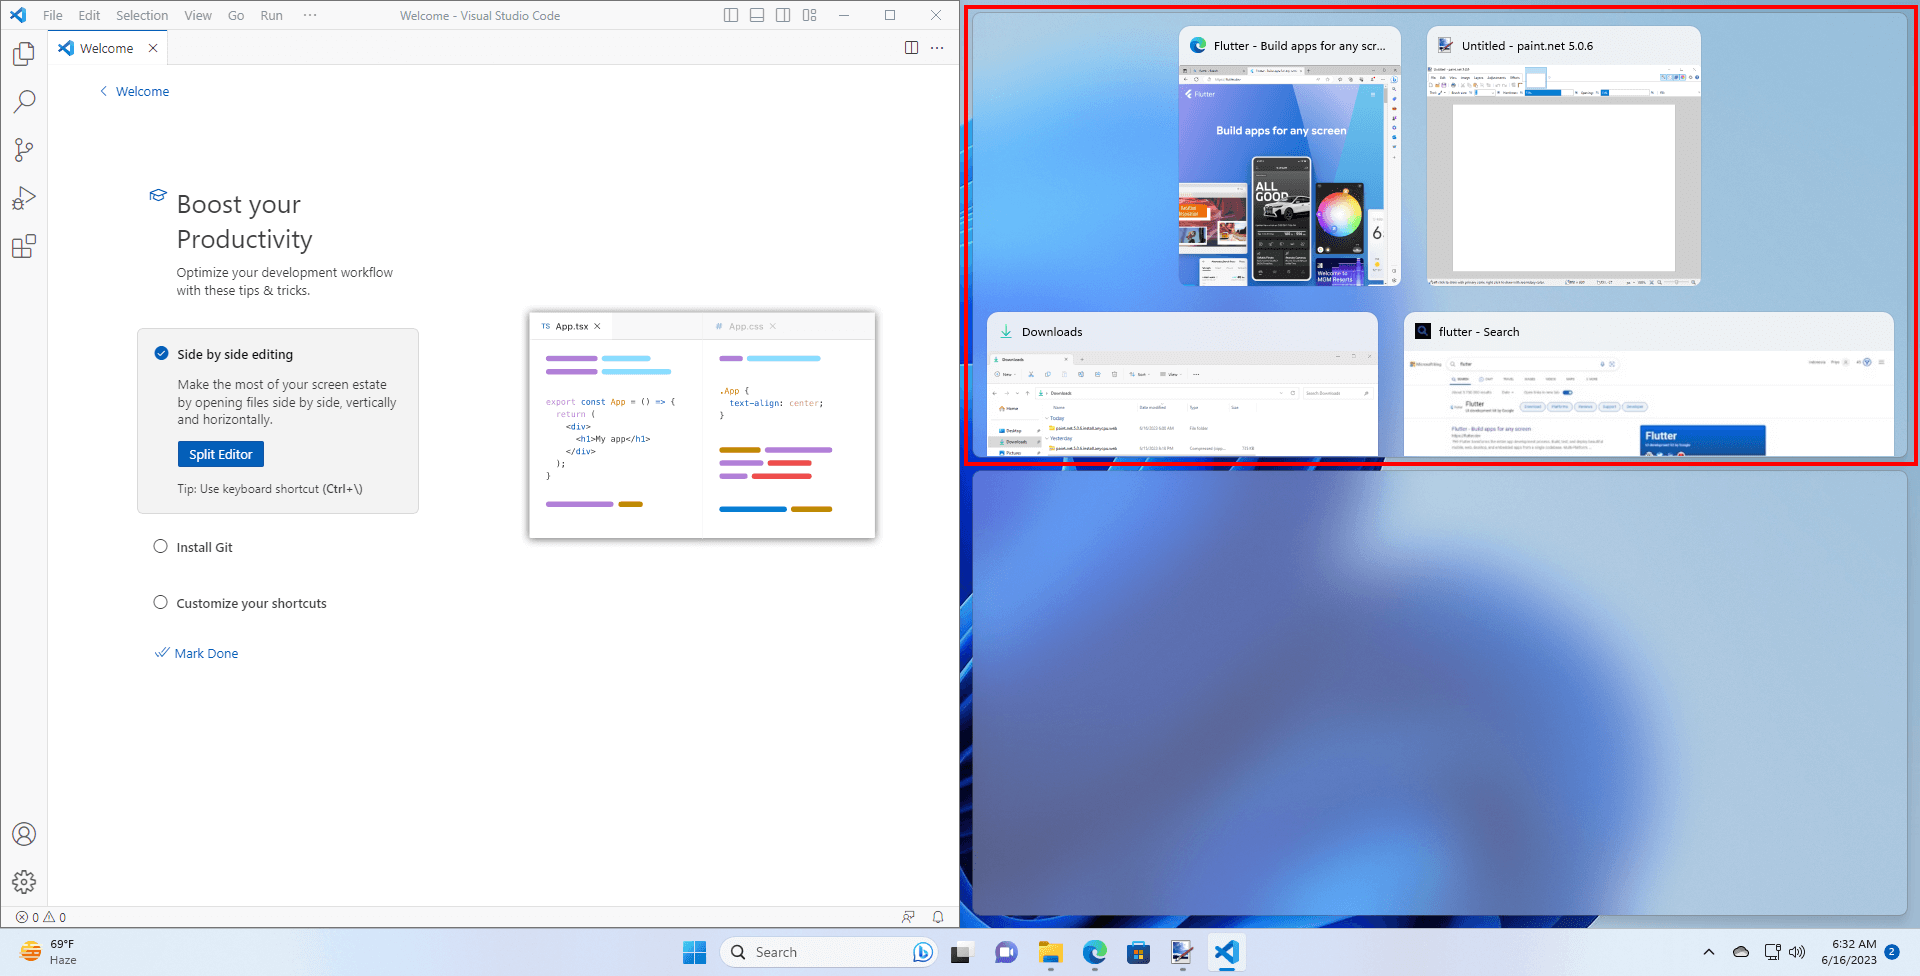
Step 2:
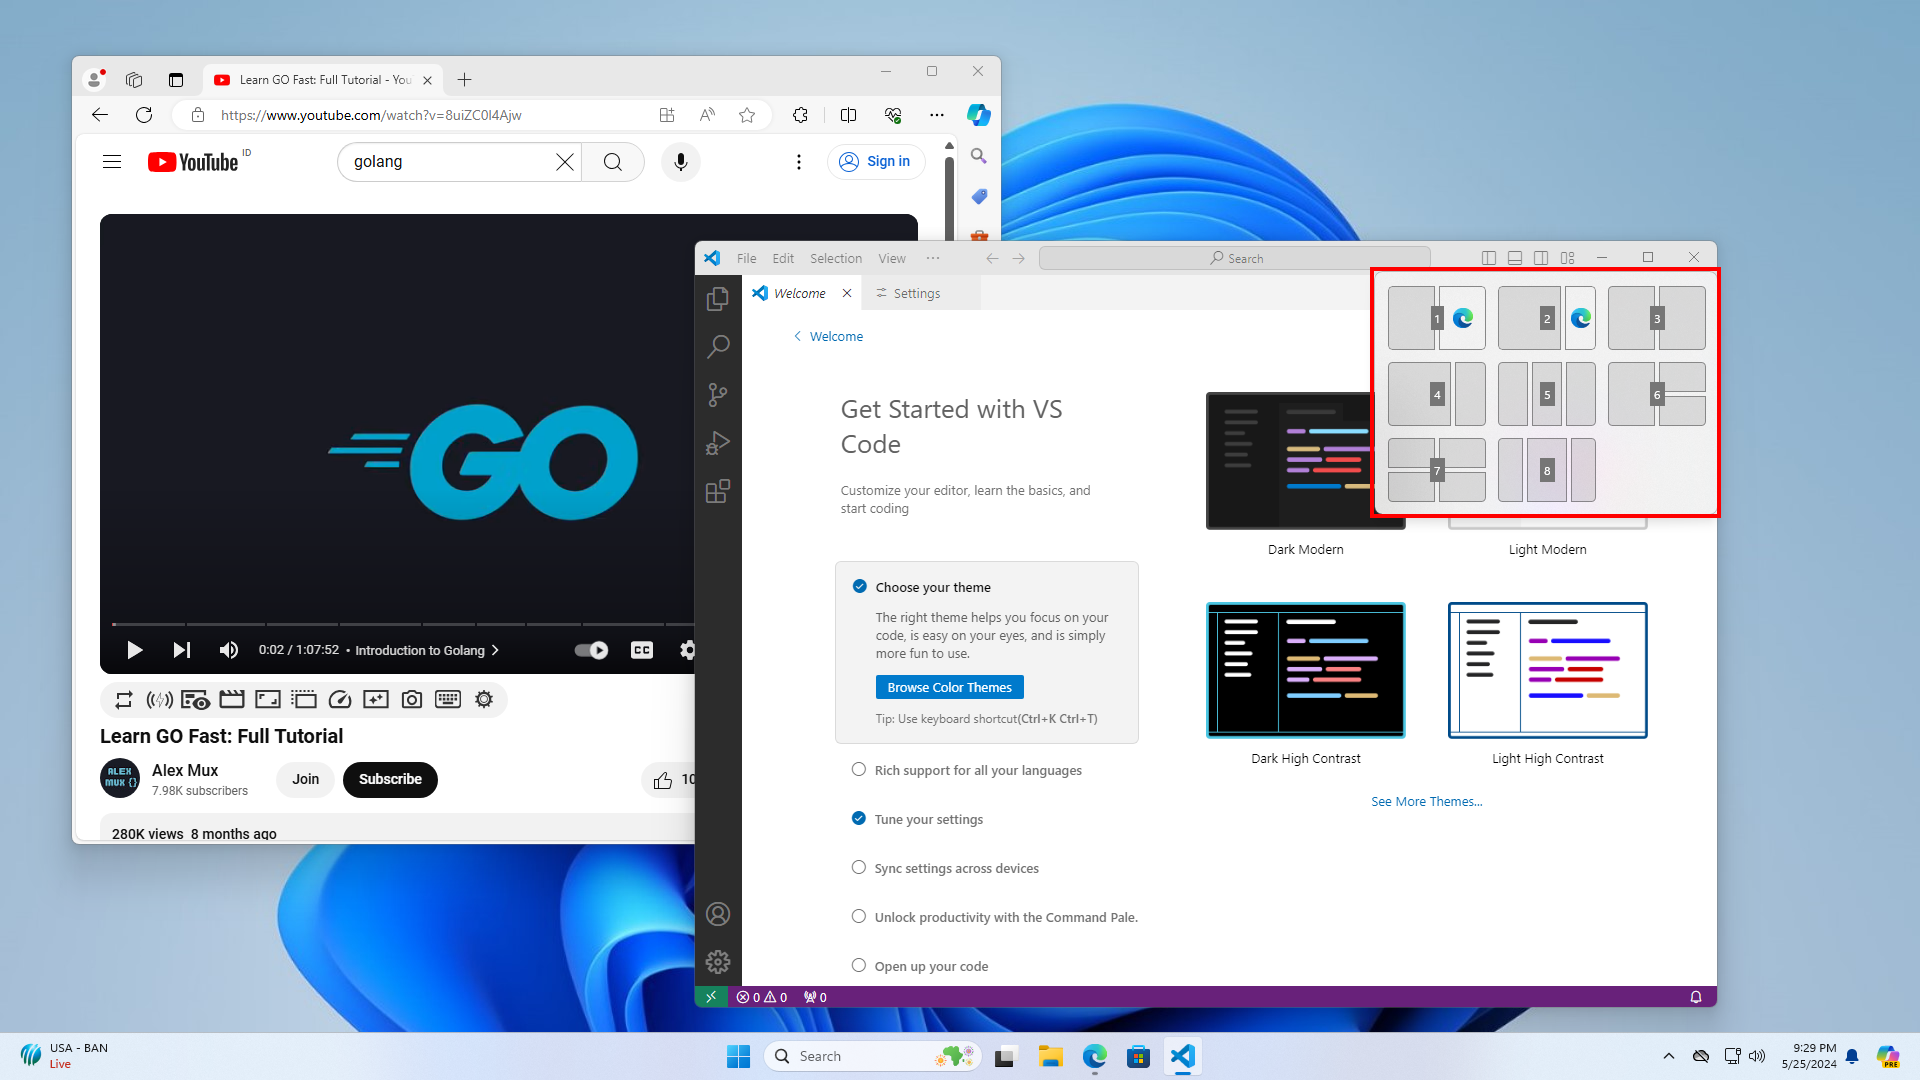
The other part of the screen will display other open app windows, and you can choose to fill the other part of the layout. Select the app window you want to use to fill the right top of the layout.
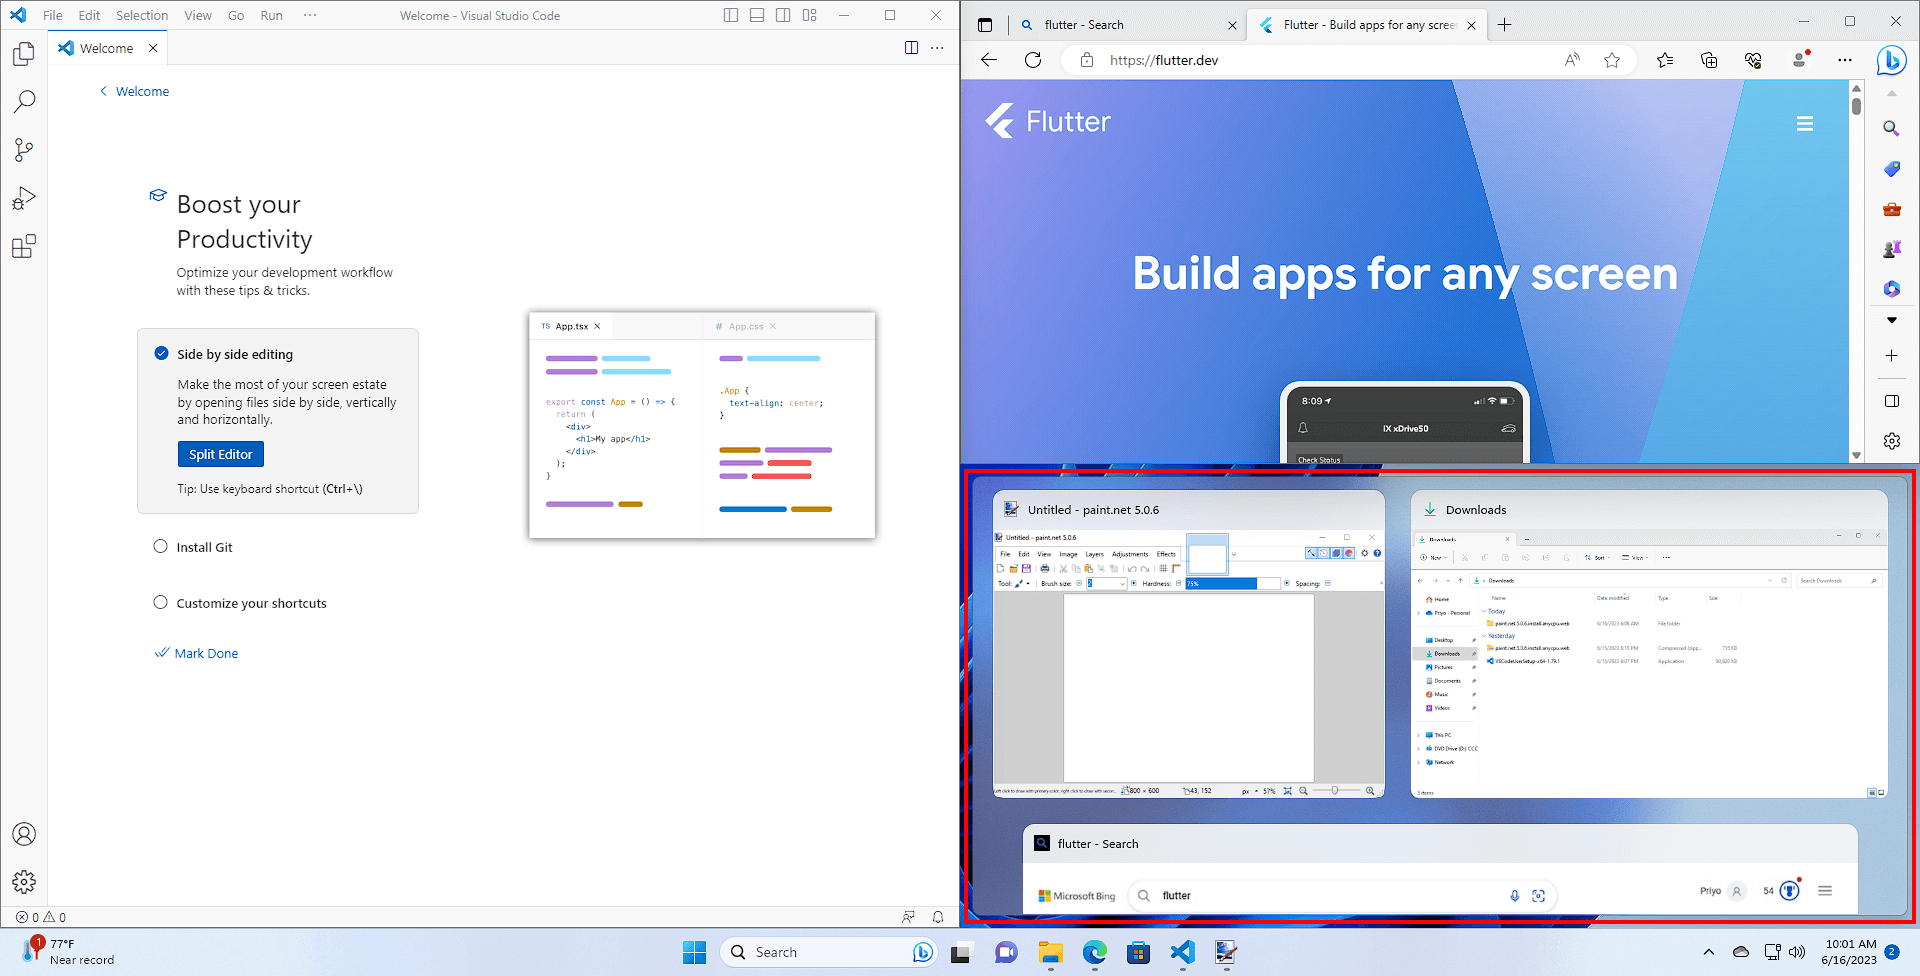
Step 3:
Repeat the process until all parts of the layout are populated.
How to resize a snapped window?
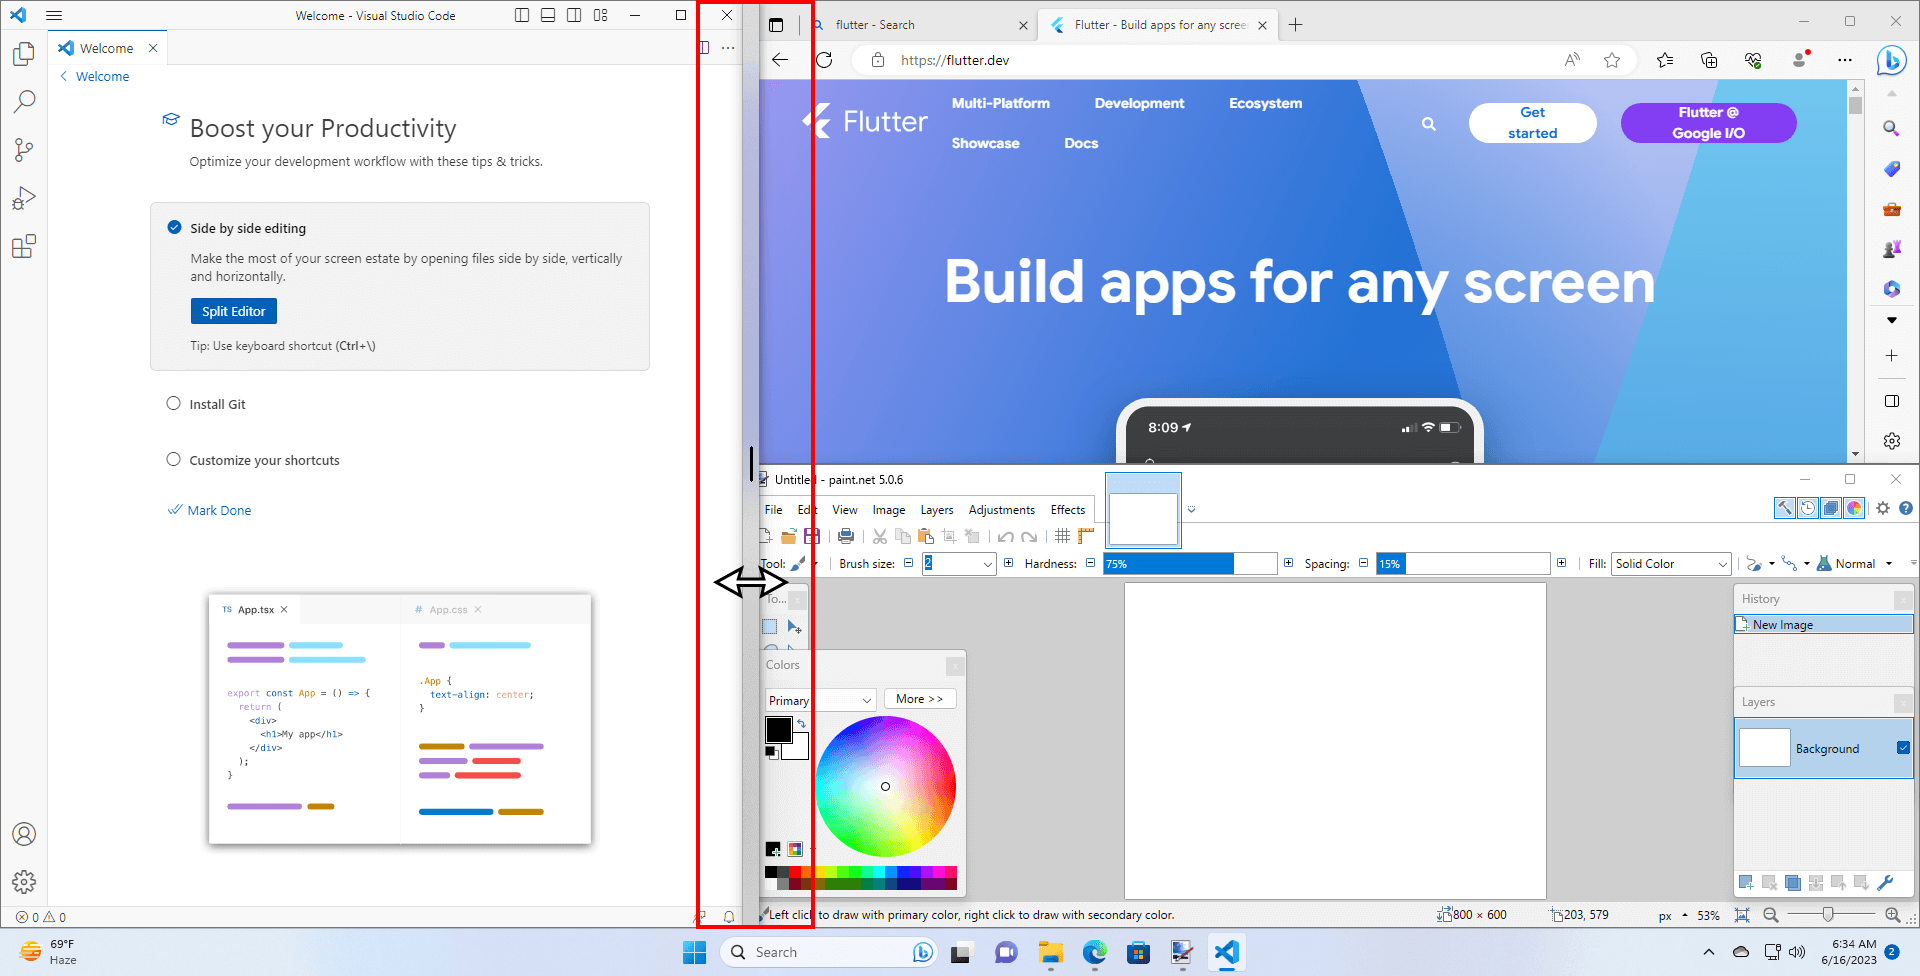
To resize, drag the border of a snapped window, and all its neighboring windows will automatically adjust their size to fill the gap and keep everything neat.
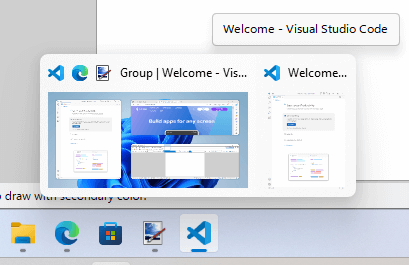
Snap groups in Taskbar Thumbnail Preview:
Program windows snapped together will appear in the taskbar both as a group and single window when you hover over the icon.
Snap groups in Alt + Tab View:
Program windows snapped together will also appear as a group and single window in Alt + Tab View.

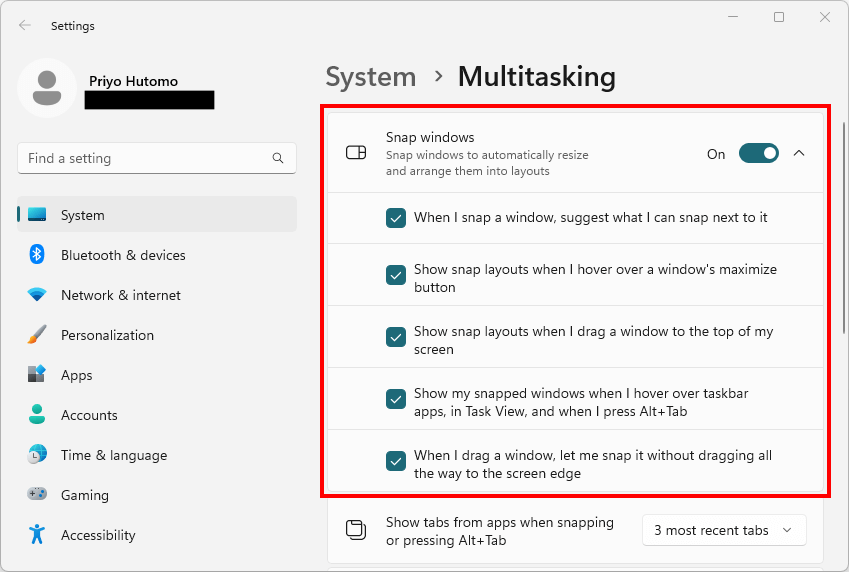
How to enable or disable the Snap Layouts feature?
If you wish to disable some features in Snap Layouts, go to Settings > System > Multitasking. Here, you can configure settings for Snap Layouts.